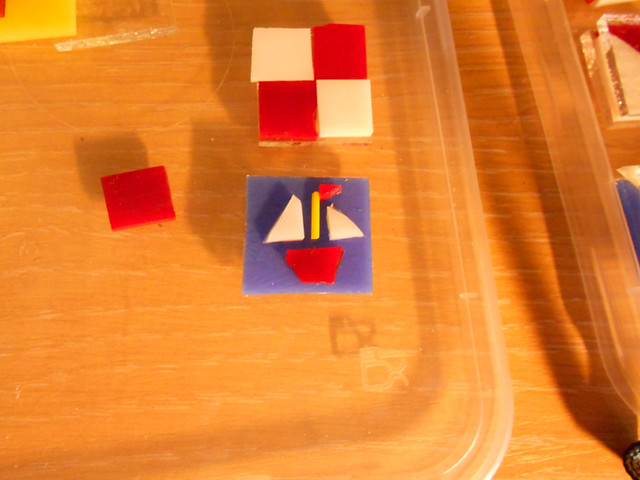
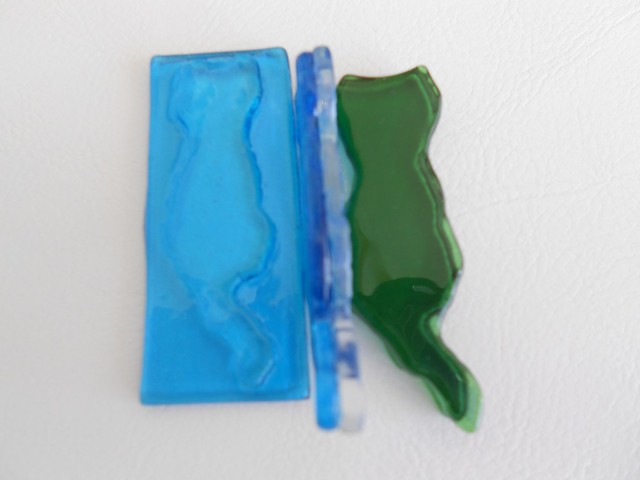
I was really pleased with the boat.
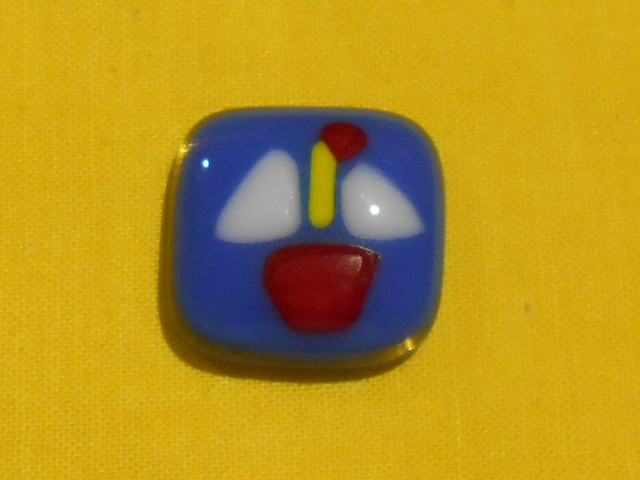
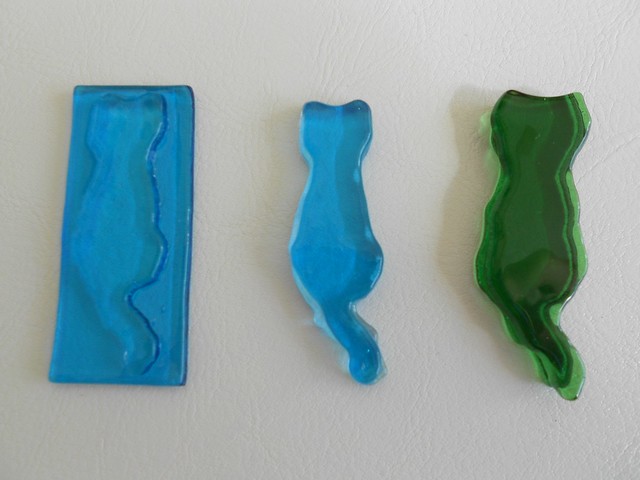
This was done on program 1 forming at 804 C. The stringer has doubled in width and the shapes have stayed fairly true.
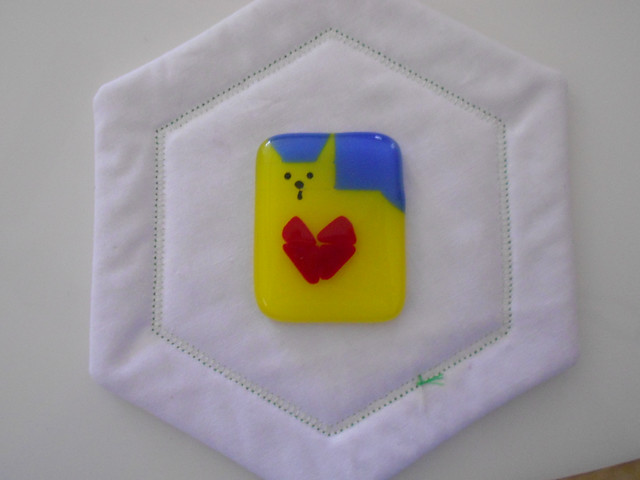
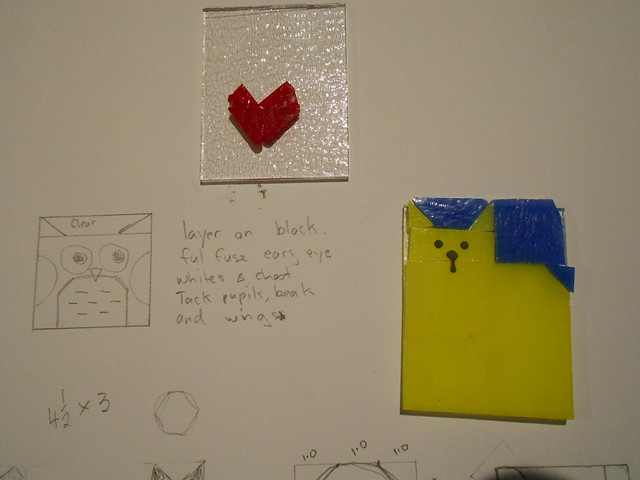
The heart on top of the cover glass moved apart like continental drift. It would be better to put it on the cat with a glass paint outline perhaps. Where the pieces touch for the head and ears there was a distinct line left. I thought they would blend more like the lines between the blue and the yellow. The size is too big. 4 cm x 5cm. 3cm x 4cm might be OK.
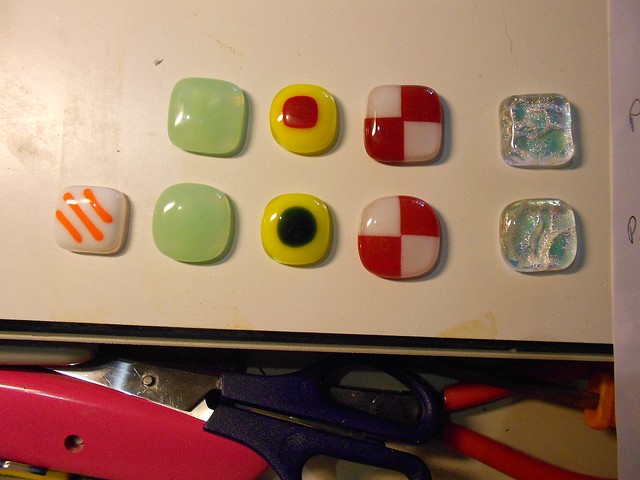
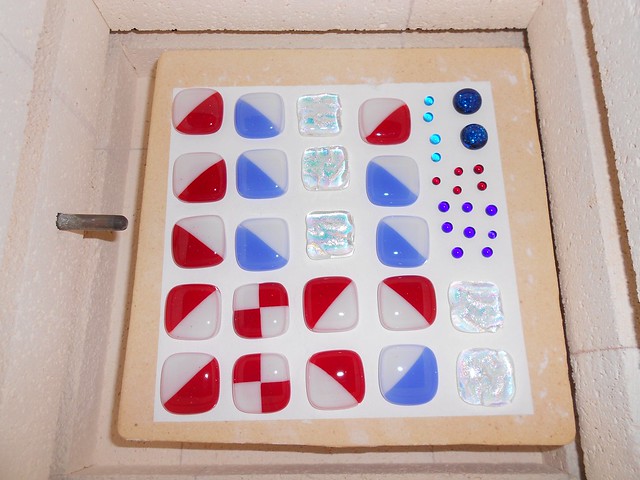
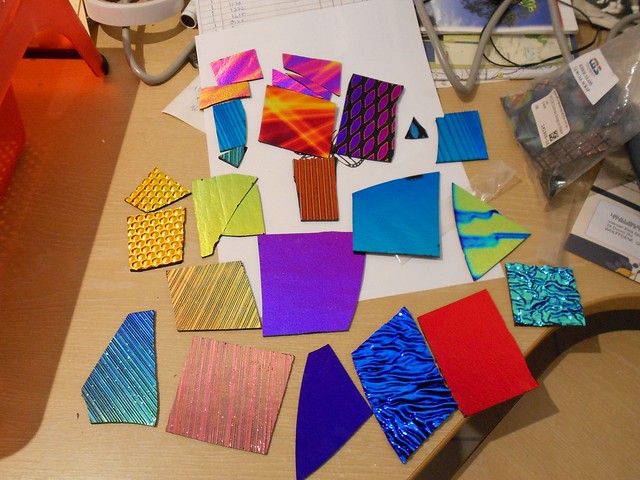
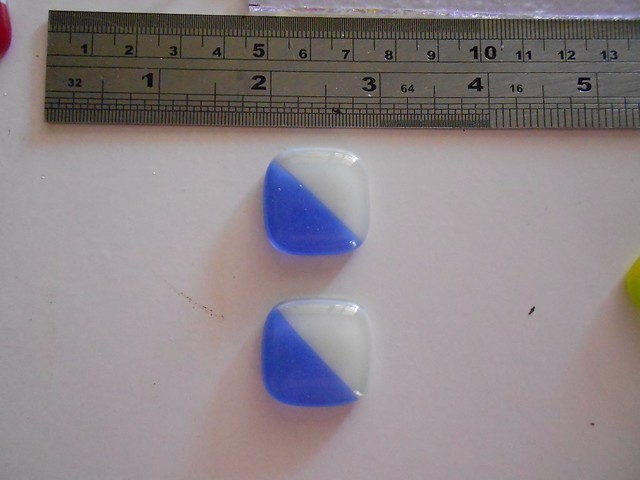
The top row is program 1 (804). The bottom row is program 3 (825).
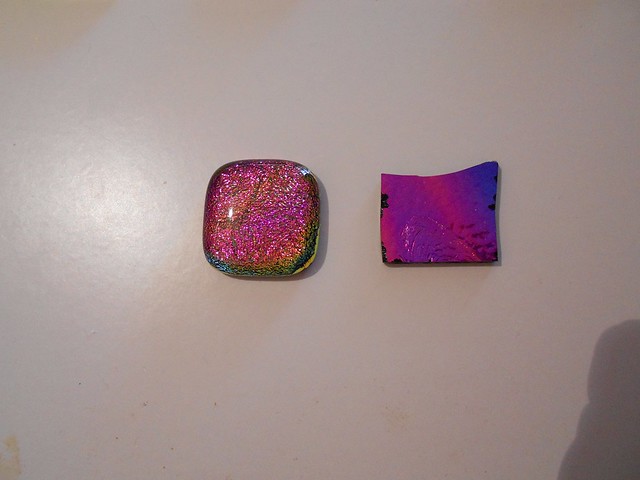
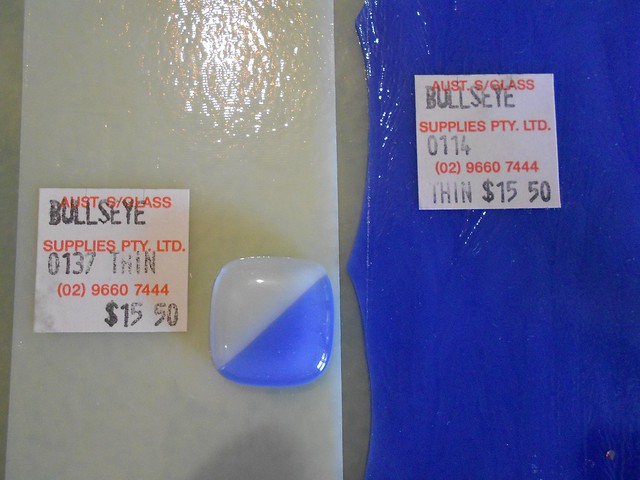
In the top row we like the red and white button and the crystal button. In the bottom row we like the green button and the eye. The stringers are 3 times wider and would probably look better at 804 C. The white glass square held it shape at 825 C. It seems much harder to melt than the other colours.
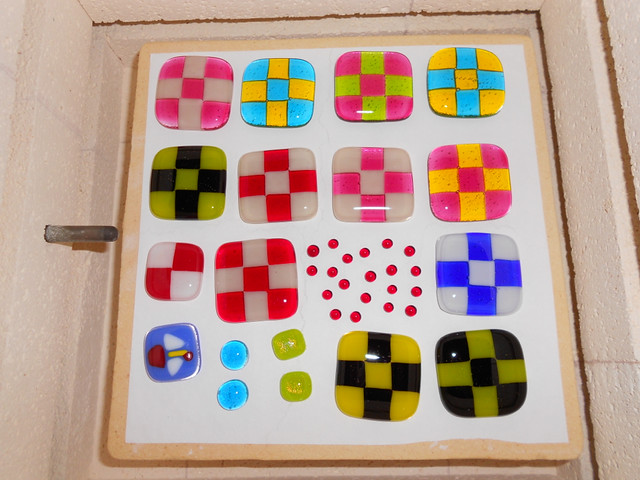
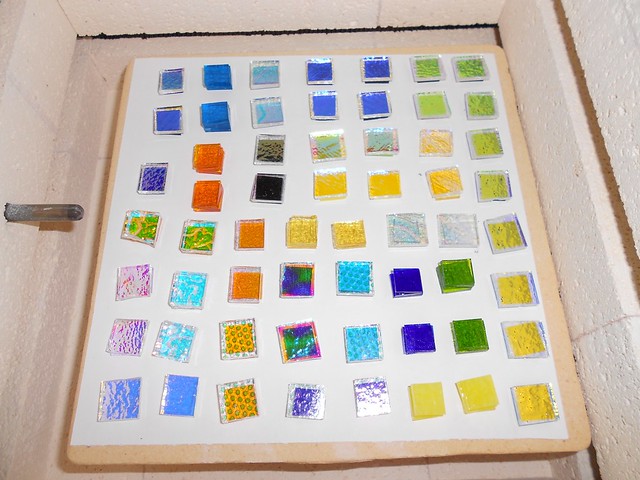
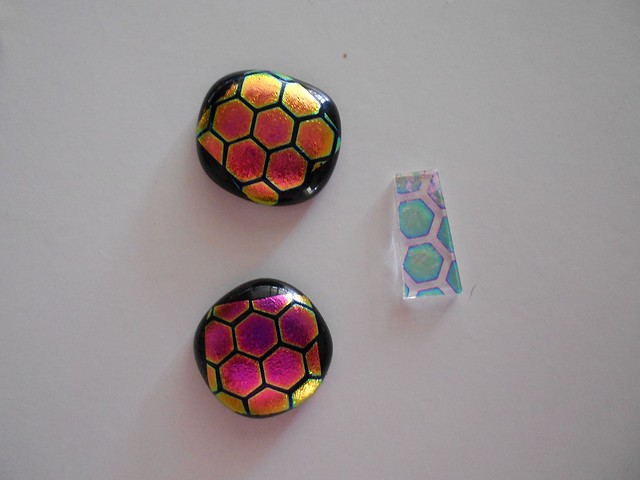
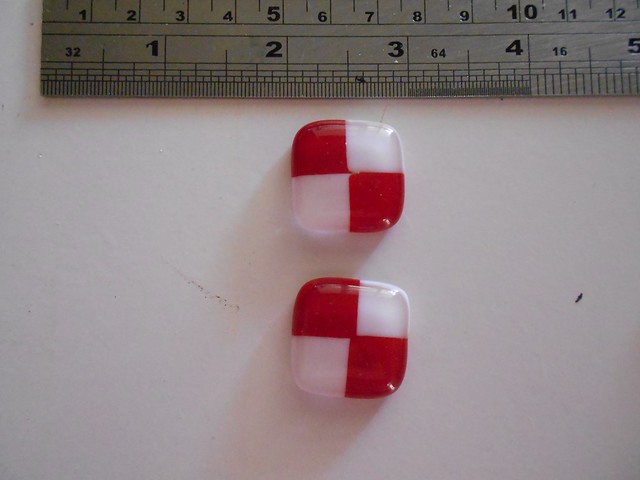
We have been making lots of 9 patch pendants to see which colours look best.
This was done on program 1 forming at 804 C. The stringer has doubled in width and the shapes have stayed fairly true.
The heart on top of the cover glass moved apart like continental drift. It would be better to put it on the cat with a glass paint outline perhaps. Where the pieces touch for the head and ears there was a distinct line left. I thought they would blend more like the lines between the blue and the yellow. The size is too big. 4 cm x 5cm. 3cm x 4cm might be OK.
The top row is program 1 (804). The bottom row is program 3 (825).
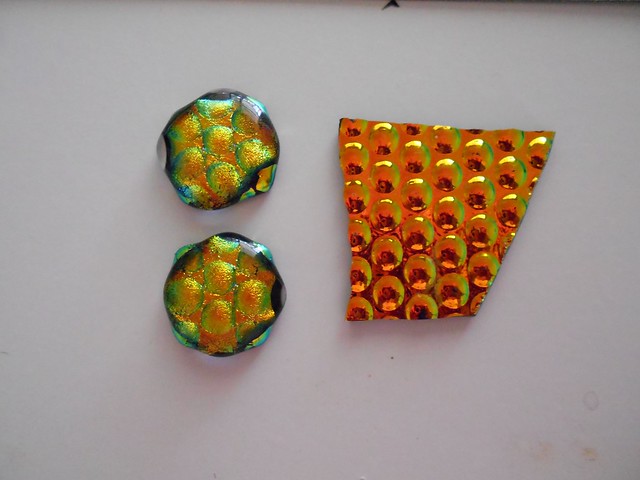
In the top row we like the red and white button and the crystal button. In the bottom row we like the green button and the eye. The stringers are 3 times wider and would probably look better at 804 C. The white glass square held it shape at 825 C. It seems much harder to melt than the other colours.
We have been making lots of 9 patch pendants to see which colours look best.